
The following describes how to set up an email account in the Android Gmail app.
You can access the settings as follows:
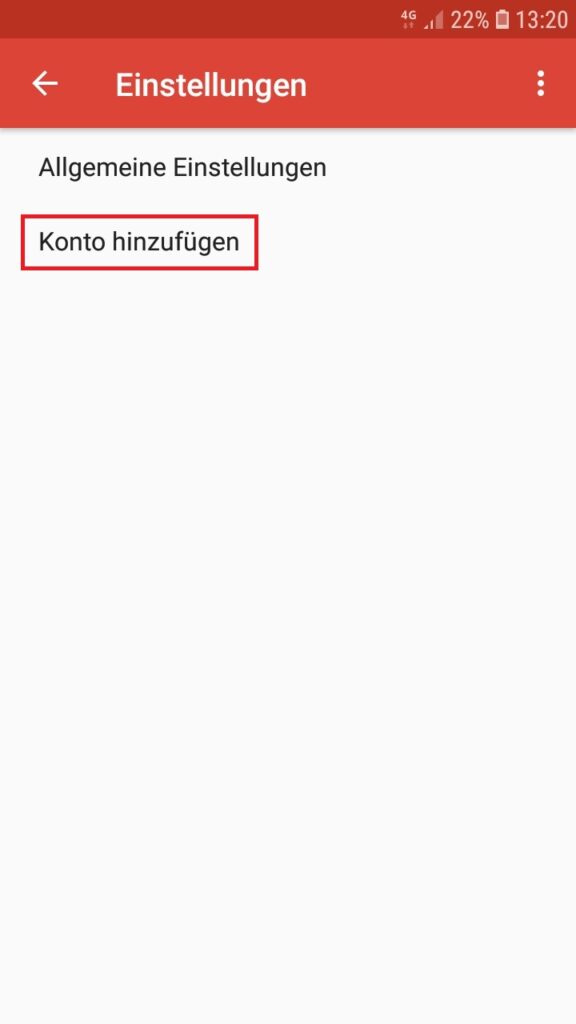
Swipe right from the left edge. The "Settings" item appears in the penultimate place in the menu.
In the settings, click on "Add account".
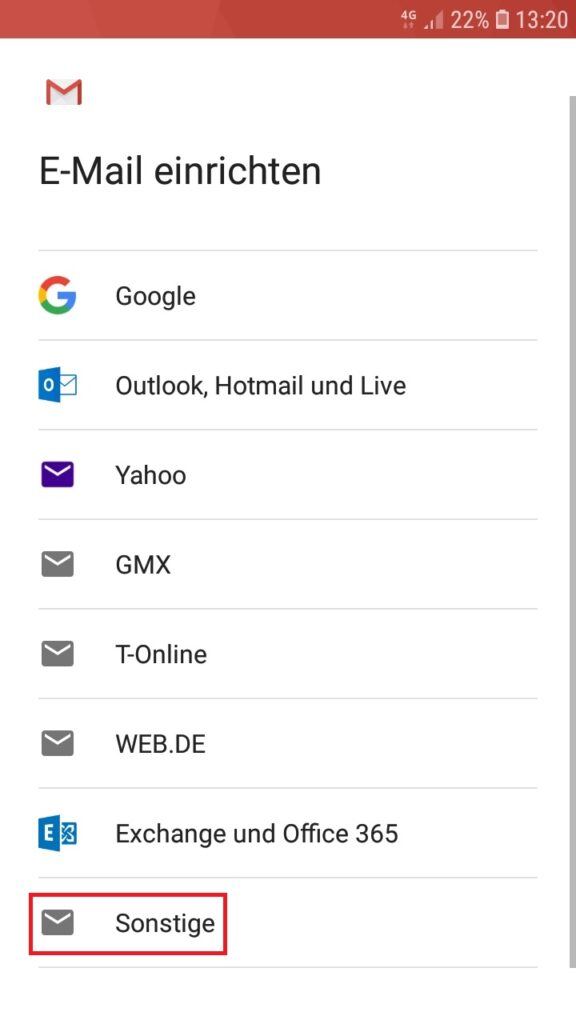
In the next step, the email provider is selected.
Click on “Other” here.
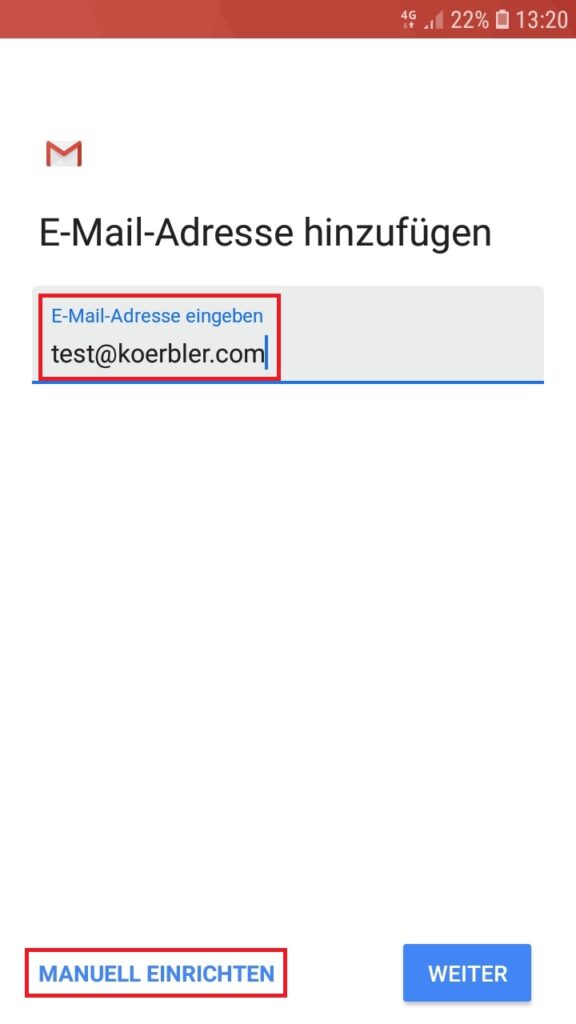
Then you have to enter your full email address and click on "Set up manually".
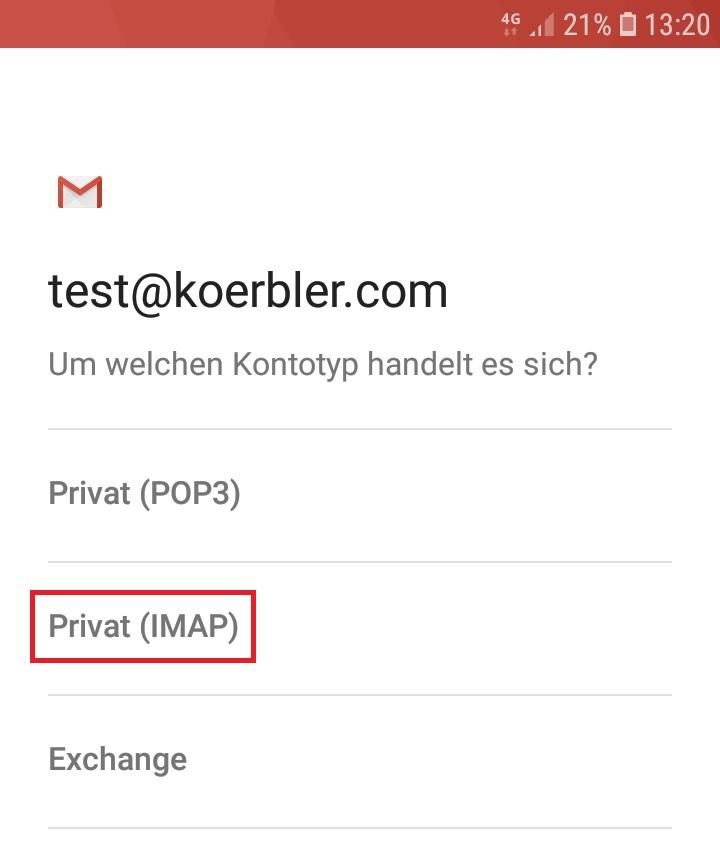
When selecting the account type, we recommend "IMAP".
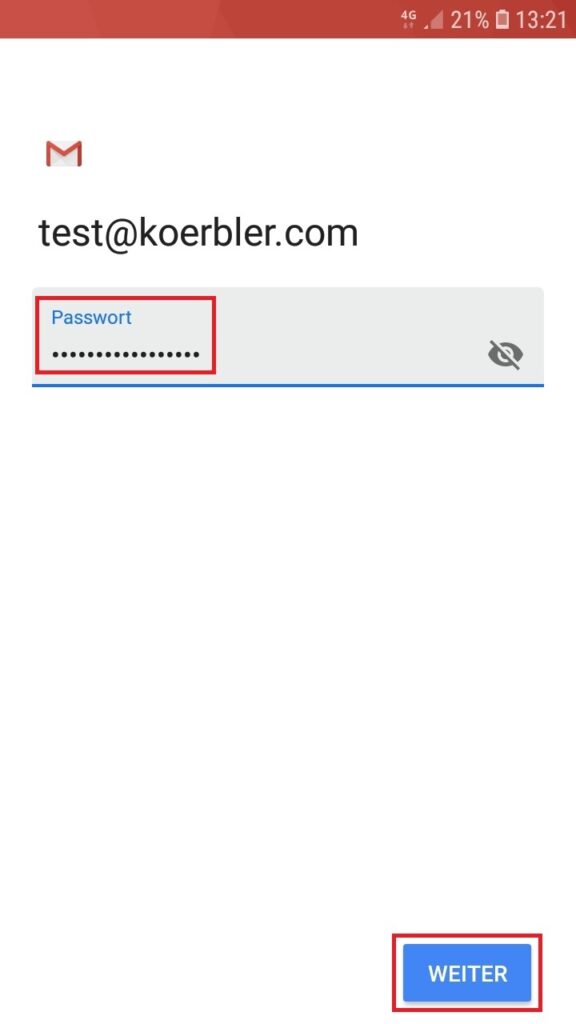
In the next step you have to enter your password and confirm with "Next".
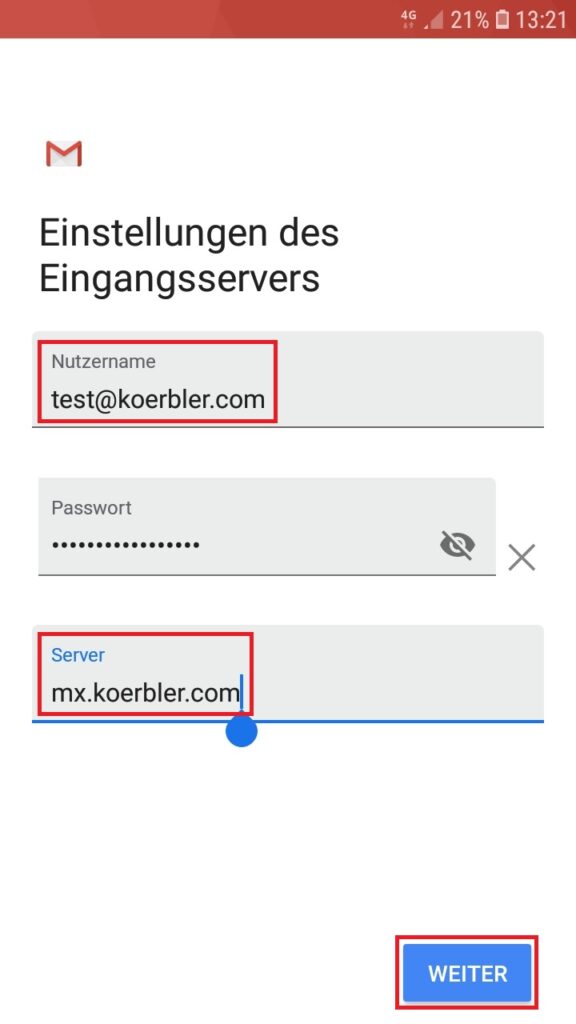
The settings for the incoming mail server (IMAP/POP3) are specified in the following mask.
Your full email address must be entered as the username.
Normally, the password is automatically adopted from the previous step.
The email server is "mx.koerbler.com” to enter.
Confirm your entries by clicking on "Next".
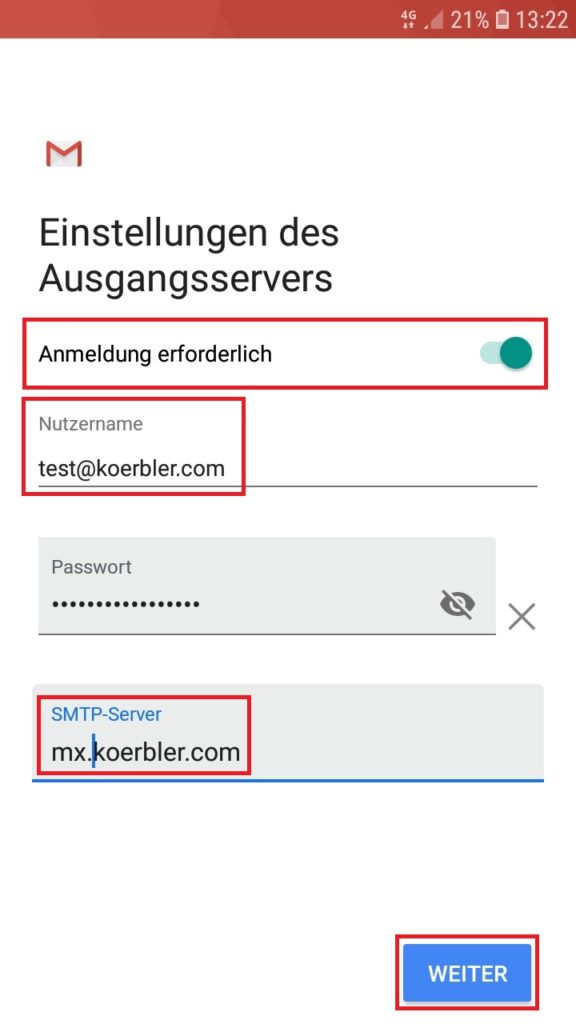
The settings for the outgoing mail server (SMTP) now follow.
Registration is required, so the button must be activated for this.
Here, too, your full email address must be entered as the user name.
As with the inbox, mx also applies here.koerbler.com as server.
Confirm your entries again by clicking on "Next".
Finally you can define your preferred synchronization settings and your sender name.
These settings are freely selectable.
| Cookie | Duration | Description |
|---|---|---|
| cookielawinfo checkbox analytics | 11 months | This cookie is set by GDPR Cookie Consent plugin. The cookie is used to store the user consent for the cookies in the category "Analytics". |
| cookielawinfo checkbox functional | 11 months | The cookie is set by GDPR cookie consent to record the user consent for the cookies in the category "Functional". |
| cookielawinfo-checkbox-Necessary | 11 months | This cookie is set by GDPR Cookie Consent plugin. The cookies are used to store the user consent for the cookies in the category "Necessary". |
| cookielawinfo-checkbox-fastrs | 11 months | This cookie is set by GDPR Cookie Consent plugin. The cookie is used to store the user consent for the cookies in the category "Other. |
| cookielawinfo checkbox performance | 11 months | This cookie is set by GDPR Cookie Consent plugin. The cookie is used to store the user consent for the cookies in the category "Performance". |
| viewed_cookie_policy | 11 months | The cookie is set by the GDPR Cookie Consent plugin and is used to store whether or not the user has consented to the use of cookies. It does not store any personal data. |